
No-Churn Biscoff Cookies & Cream Ice Cream – A Rich and Creamy Homemade Treat

There’s nothing quite like homemade ice cream. It’s creamy, indulgent, and always tastes better when you’ve made it yourself. But let’s be honest—most of us don’t want to deal with the hassle of ice cream makers, special inserts, or endless churning. That’s where no-churn ice cream comes in. And this version? It’s next-level.
This No-Churn Biscoff Cookies & Cream Ice Cream combines the caramelized spiced flavor of cookie butter with the chocolate crunch of Oreos, all swirled into a luxuriously creamy base. The secret ingredient that sets this recipe apart is brown butter, which adds a rich, nutty depth that makes each bite irresistible.
Best of all, you only need a few simple ingredients and a loaf pan to whip up this decadent frozen treat. No fancy equipment required!
Why You’ll Love This Recipe
No churn, no stress: You don’t need an ice cream maker.
Unique flavor twist: Biscoff cookie butter + Oreos = the ultimate cookies and cream mashup.
Rich and creamy: Sweetened condensed milk and whipped cream give the base its luscious texture.
Freezer-friendly: Make a batch, freeze it, and enjoy whenever your sweet tooth strikes.
Tools You’ll Need
Having the right tools makes the process easier and ensures your ice cream turns out silky smooth. Here are my must-haves (you can link each one to your Amazon store):
[9x5-Inch Loaf Pan] – The perfect container for no-churn ice cream.
[Mixing Bowls] – Essential for combining wet and dry ingredients separately.
[Hand Mixer or Stand Mixer] – Whips the heavy cream into fluffy peaks.
[Silicone Spatula] – Makes folding ingredients together a breeze.
[Small Saucepan] – For browning the butter.
[Plastic Wrap or Airtight Lid] – Keeps your ice cream fresh and prevents freezer burn.
[Ice Cream Scoop] – For those perfect, Instagram-worthy scoops.

Ingredients
½ stick brown butter (cooled)
1 can sweetened condensed milk (14 oz)
½ cup cookie butter (like Biscoff spread)
1 tsp salt
1 tbsp vanilla extract
2 cups cold heavy cream
15 Oreos, crushed (reserve a handful for topping)

Directions
1. Prep the Brown Butter
In a small saucepan, melt the butter over medium heat. Stir often until it turns golden brown and smells nutty (about 5 minutes). Remove from heat and let cool completely.
2. Make the Base
In a large bowl, whisk together the cooled brown butter, sweetened condensed milk, cookie butter, salt, and vanilla extract until smooth and creamy.
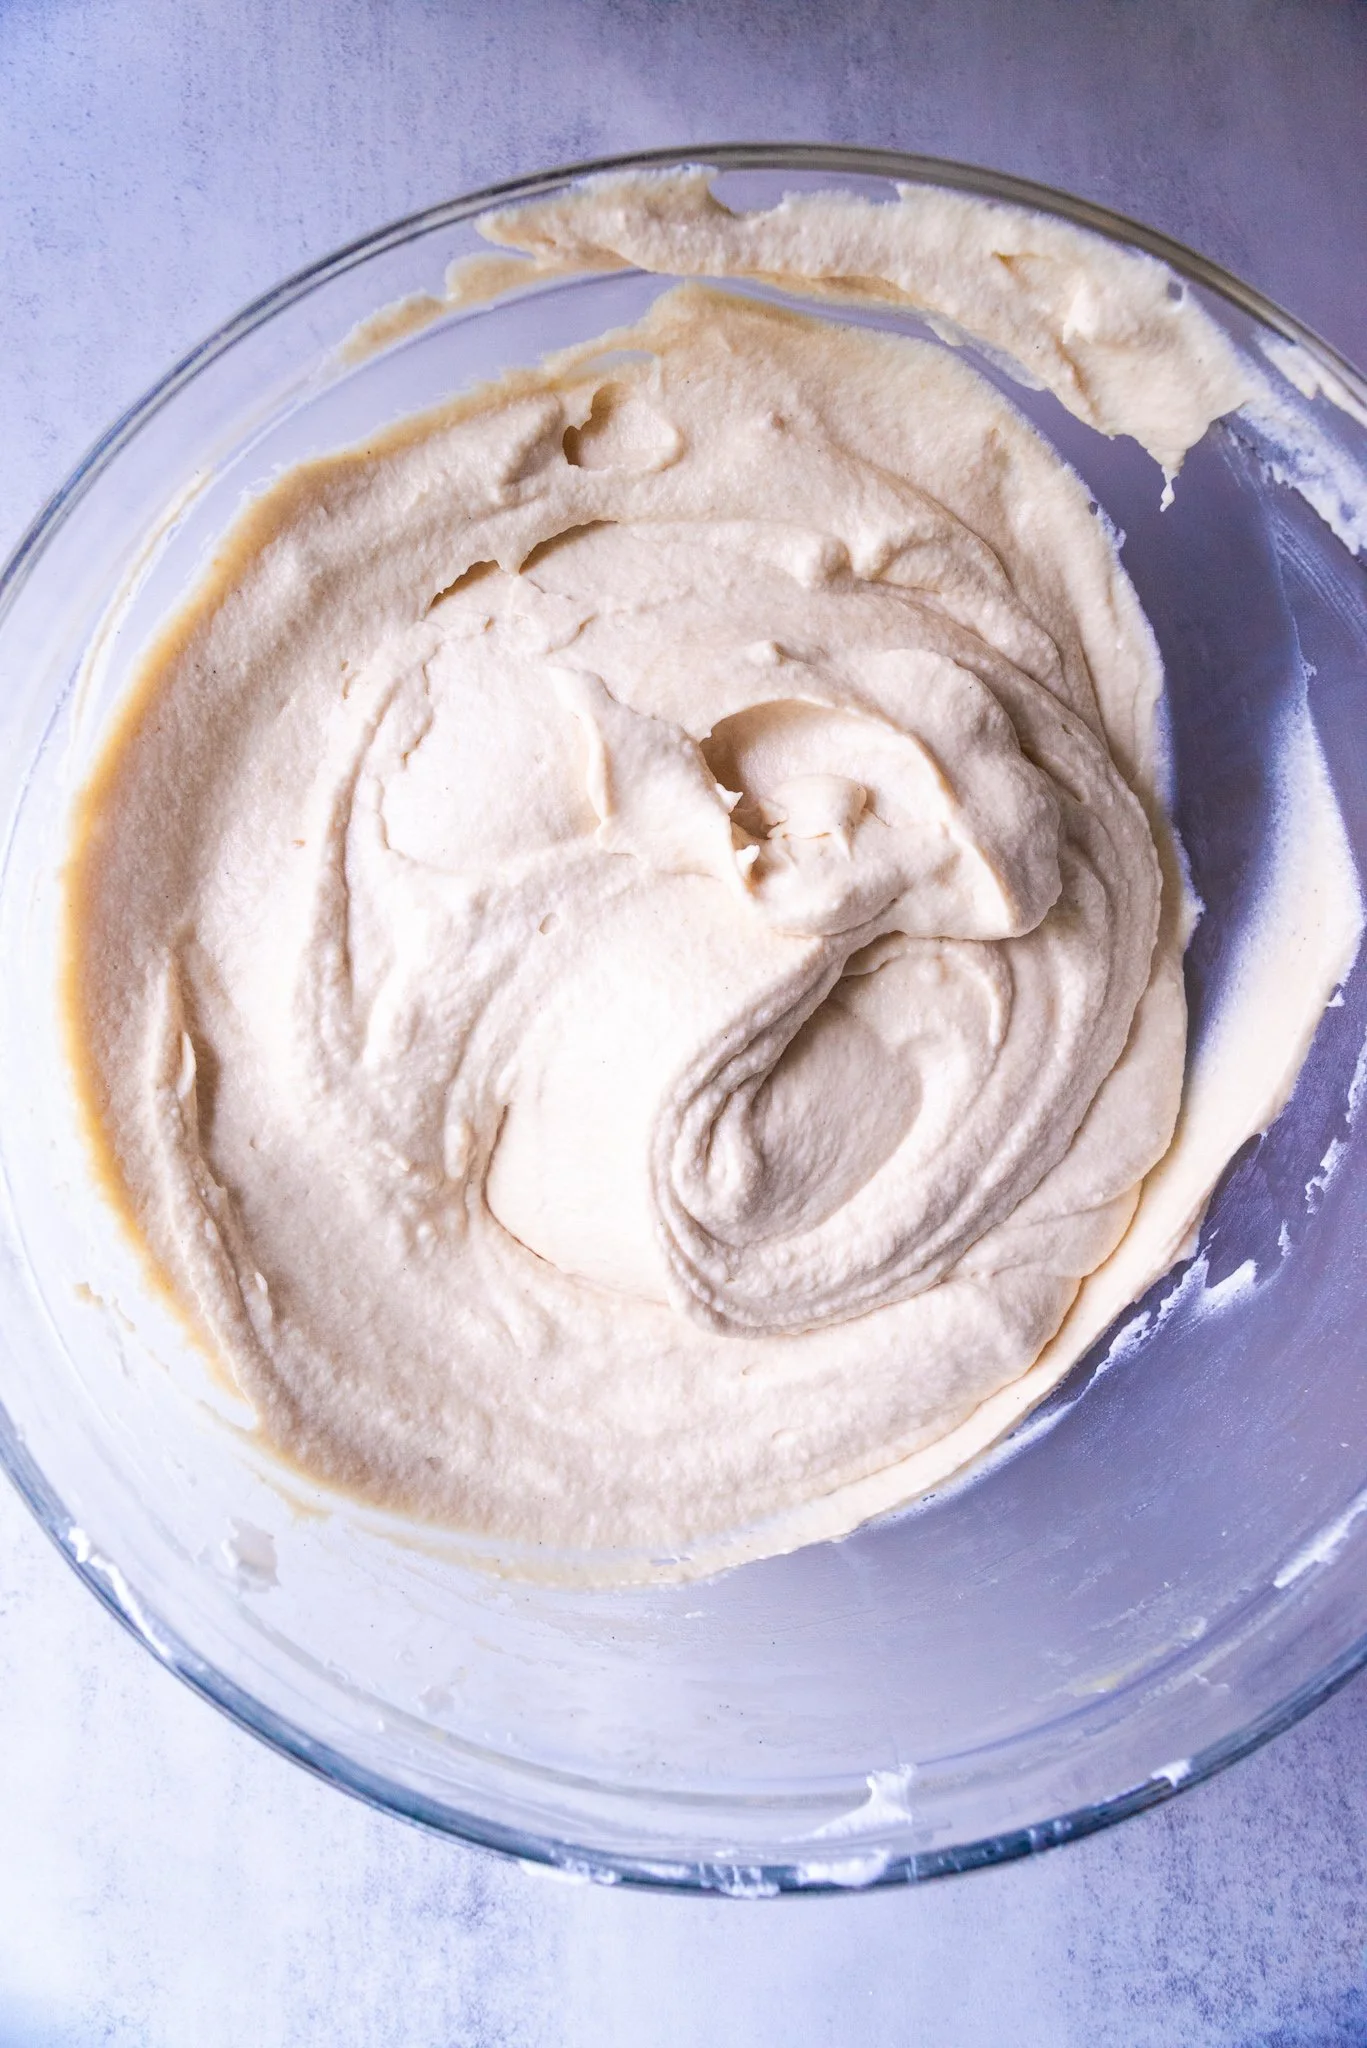
3. Whip the Cream
In a separate chilled bowl, use a hand mixer or stand mixer to beat the cold heavy cream until stiff peaks form. This step is crucial—it’s what gives no-churn ice cream its light, airy texture.
4. Fold It Together
Gently fold the whipped cream into the brown butter mixture in batches. Take your time to keep the mixture fluffy—don’t stir too aggressively.
5. Add the Cookies
Fold in the crushed Oreos, saving a small handful to sprinkle on top before freezing.
6. Freeze
Transfer the mixture into a 9x5-inch loaf pan. Smooth the top with a spatula and sprinkle the reserved cookie crumbs over it. Cover with plastic wrap or foil.
7. Chill & Serve
Freeze for at least 6 hours, or overnight, until firm. When ready to serve, scoop and enjoy!
Tips for the Best No-Churn Ice Cream
Chill your cream: Make sure your heavy cream is very cold before whipping—it will whip faster and hold peaks better.
Cool the butter fully: If your brown butter is still warm, it could melt the whipped cream and ruin the texture.
Customize it: Swap Oreos for Biscoff cookies for a double-cookie flavor punch. You can also drizzle in caramel or chocolate sauce before freezing for extra decadence.
Storage: Keep covered in the freezer for up to 2 weeks.

Serving Ideas
Scoop into a bowl and top with crushed Biscoff cookies for extra crunch.
Sandwich a scoop between two chocolate chip cookies for the ultimate ice cream sandwich.
Drizzle with warm caramel sauce for a restaurant-worthy dessert.
Serve alongside a slice of warm brownie or blondie for the perfect hot-and-cold combo.

No-Churn Biscoff Cookies & Cream Ice Cream
Rich, nutty brown butter + Biscoff cookie butter + crunchy Oreos—no ice cream maker needed.
Ingredients
- ½ stick brown butter, cooled completely
- 1 can (14 oz) sweetened condensed milk
- ½ cup cookie butter (Biscoff spread)
- 1 tsp salt
- 1 tbsp vanilla extract
- 2 cups cold heavy cream
- 15 Oreos, crushed (reserve some for topping)
Directions
- Brown the butter: In a small saucepan, melt the butter over medium heat, stirring often, until golden and nutty, 4–6 minutes. Transfer to a bowl and cool completely.
- Make the base: Whisk the cooled brown butter, sweetened condensed milk, cookie butter, salt, and vanilla until smooth.
- Whip the cream: In a chilled bowl, whip the heavy cream to stiff peaks with a hand or stand mixer.
- Fold: Gently fold the whipped cream into the brown-butter mixture in 2–3 additions until no streaks remain and the base is fluffy.
- Add cookies: Fold in the crushed Oreos, reserving a small handful for topping.
- Freeze: Scrape into a 9×5-inch loaf pan, smooth the top, and sprinkle remaining crumbs. Cover tightly and freeze until firm, at least 6 hours or overnight.
- Serve: Let sit at room temp 3–5 minutes for easy scooping. Enjoy!
- Make sure the brown butter is fully cool before mixing, so it doesn’t deflate the whipped cream.
- Heavy cream should be very cold for quickest whipping and best structure.
- Swap Oreos for Biscoff cookies for a double-cookie twist; swirl in caramel or chocolate before freezing for extra decadence.
- Storage: Keep covered up to 2 weeks in the freezer.
Final Thoughts
This No-Churn Biscoff Cookies & Cream Ice Cream is everything you want in a homemade dessert—rich, creamy, and packed with irresistible cookie flavor. It’s an easy recipe that doesn’t require special equipment, but the results taste like you spent hours in the kitchen.
Whether you’re making it for a family movie night, a dinner party dessert, or just to satisfy a late-night craving, this ice cream is sure to become a household favorite. One bite, and you’ll wonder why you ever bought store-bought ice cream in the first place.
So grab your mixing bowls, whip that cream, and get ready to scoop into pure cookie bliss.